and the distribution of digital products.
How to use Ledger X with Avalanche?
The industry standard for securing cryptocurrencies is hardware wallets, specialized devices that provide complete privacy between your computer and your private keys. If you’re setting up a new Avalanche wallet address, follow the standard set up as a new device procedure. The Avalanche Ledger wallet app is currently available via Ledger Live in Experimental Mode. Therefore, this article will act as your step-by-step guide to using Ledger X with Avalanche.
Summary (TL;DR)- Avalanche is a pretty comprehensive platform that helps to launch DeFi apps.
- Apparently, developers can quickly generate reliable and protected apps as well as blockchain networks on Avalanche. Although, this might not be absolutely true.
- Ledger X was released in 2020 and it helps you to secure your bitcoin and other cryptocurrency offline.
- Ledger X supports various coins including USDT, NEO, TRX, LTC, DASH, and more.
Avalanche is a non-proprietary platform for launching decentralized finance applications. It is also responsible for enterprising blockchain implementations in one reconcilable, large-scale environment. As a result, developers on Avalanche can easily create robust, reliable, and secure applications and custom blockchain networks with complex rulesets or build on existing private or public subnets.
How to set up Avalanche with Ledger Live?- In the initial step, you need to download the Ledger Live app. A download is available for all three platforms, i.e., Android, iOS, and Linux.
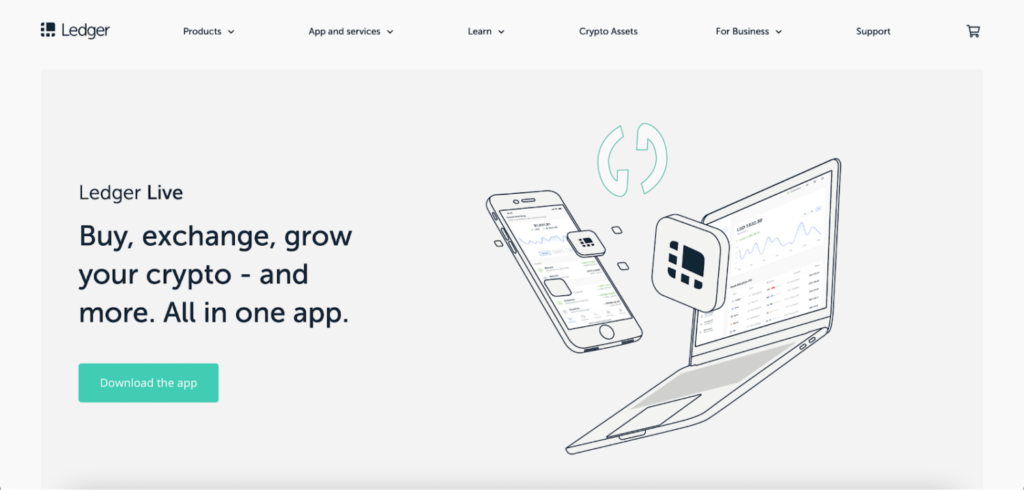 Download the Ledger Live app
- As soon as you successfully install the application, run it. Click on the ‘Manager’ option and allow device management by pressing both the buttons on the device.
 Allow device management
- Next, in the App Catalog tab, search for ‘Avalanche’. Make sure that the Avalanche application is v0.5.2 (or higher). Click on the ‘Install’ button after that.
- You can verify the installation process by visiting the ‘Apps installed’ option, where you can see Avalanche v0.5.2.
 ‘Apps installed’
How to use the Avalanche wallet with Ledger?
As soon as the Avalanche app is installed, it will get easy for you to access through the Avalanche wallet through Ledger. With the help of this trait, it becomes easy for you to send AVAX, NFTs, tokens, staking, delegating, and even cross-chain swaps.
- To obtain access to the wallet, connect the Ledger device to your PC and enter your pin.
 Connect the Ledger device to your PC
- If you have more than one app installed on your device, move left or right to select the Avalanche app.
 Select the Avalanche app
- It would be best if you pressed both buttons for starting the app. Once you do that, you will automatically be redirected to the home page of the Avalanche app. Here, you need to verify the version of the app, i.e. 0.5.2 or higher.
- As soon as you confirm the version of the Avalanche app, select the ‘Access Wallet button.
 Access Wallet button
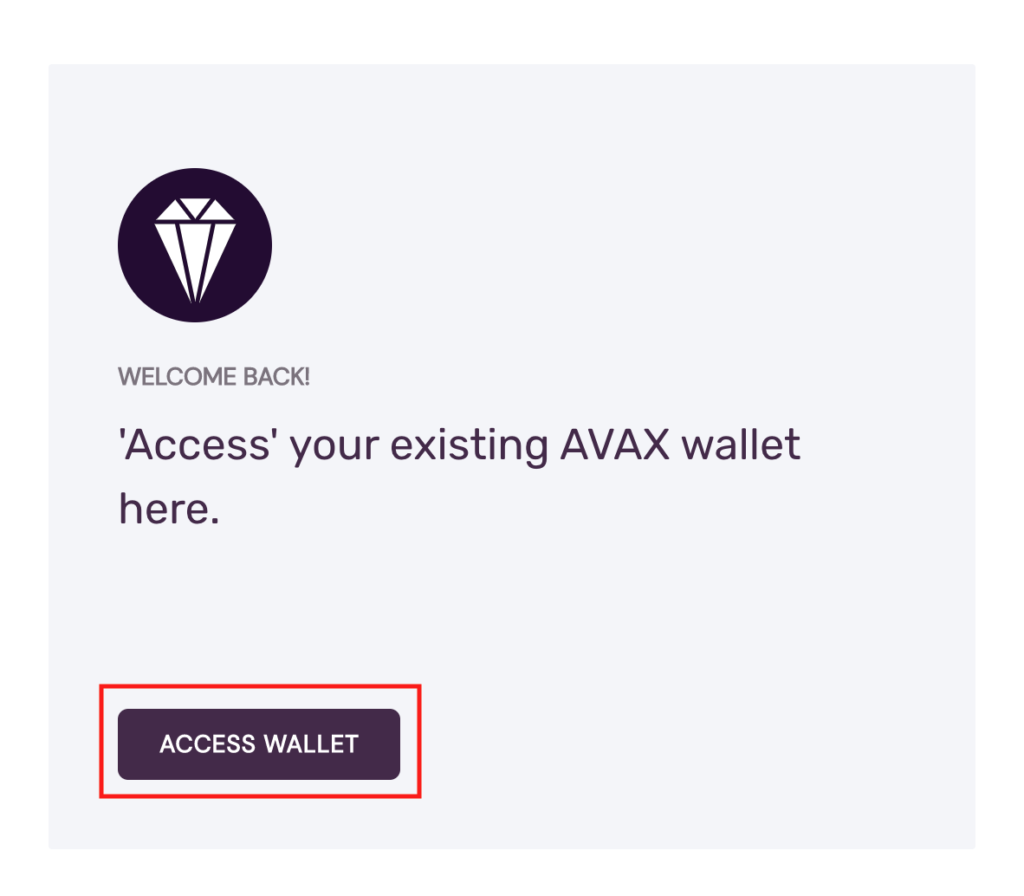 Access Wallet button
- The website will pop a question on the screen asking ‘How do you want to access your wallet?’. Select the ‘Ledger’ option there.
 How do you want to access your wallet?
- In the next step, the website will nudge you to verify access to all public keys on your Ledger gadget. Click on the right button on the Ledger device. Lastly, confirm on the last screen by pressing both the buttons.
 Confirm by clicking
- Although, you need to continue this process twice as different keys have different purposes for chains. As soon as you get signed in to your account, your previous transactions and balance will be visible.
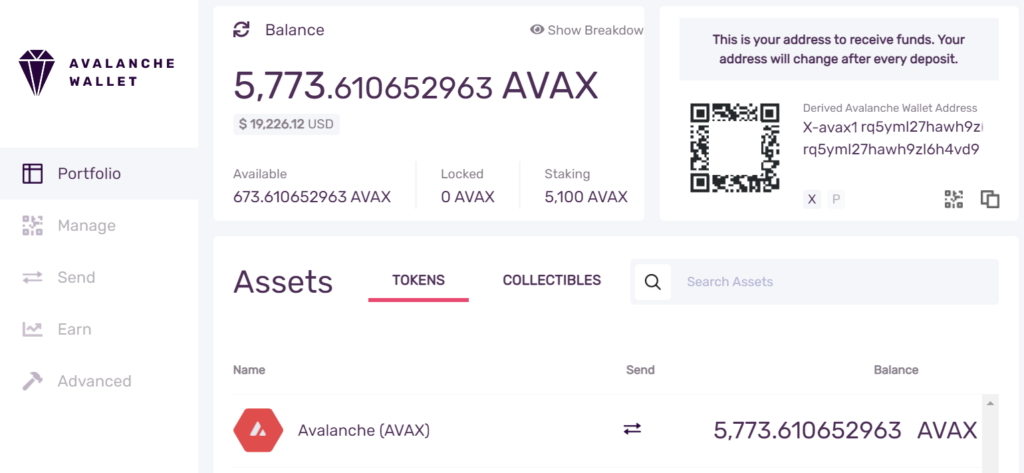 Sign in
- Now, click on the ‘Send’ option and paste an X-address in the ‘To Address’ field to transfer assets.
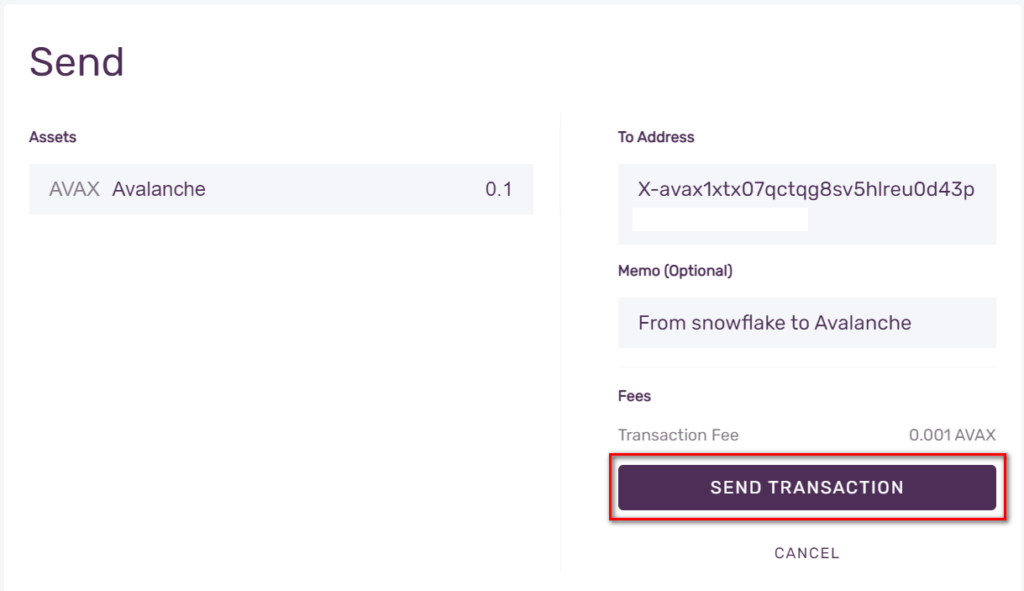 Click on the ‘Send’
- Select the amount that you want to transfer and set up a memo by preference. Click on the ‘Confirm’ button and then select the ‘Send Transaction’ option.
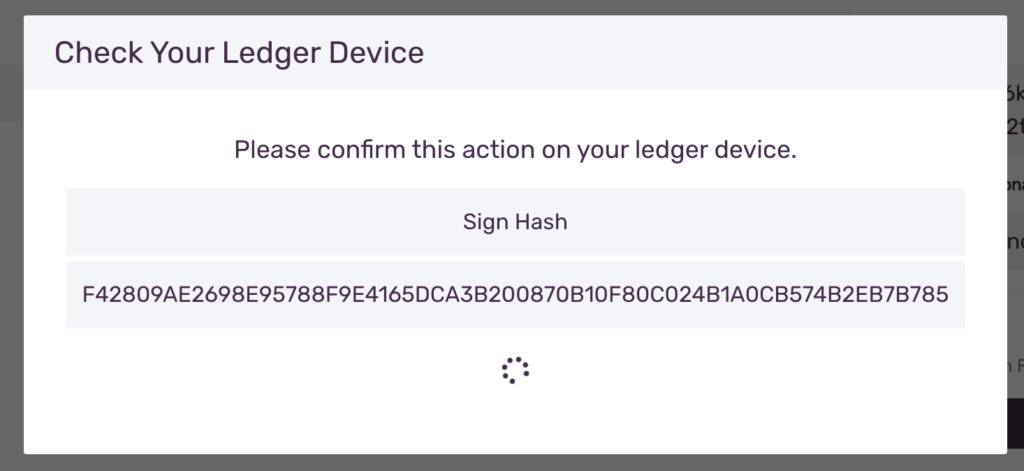 ‘Send Transaction’
- A dialogue box will pop up on your screen asking to confirm the action on your Ledger device. Click on Confirm after verifying all the details.
- Lastly, on the right-side column, you will be able to see all the latest payments. After you click on the magnifying tool, all the transaction details will be available to you, including transaction ID, status, and time of transaction.
As you observed earlier, it is pretty easy to set up Ledger X with Avalanche. Also, the Ledger X wallet helps you with everything you need for developing blockchain patterns and building on existing private as well as public subnets.
Frequently Asked QuestionsInitially, you need to install the Avalanche app on your Ledger hardware wallet. Next, open the Manager tab in Ledger Live. Find Avalanche on the app catalog and click on the install tab. Avalanche will be successfully installed on your hardware wallet.
For this purpose, install the Avalanche app on your Ledger hardware wallet and create an Avalanche wallet. On the next step, get AVAX and lastly, you can transfer your funds into the wallet.
1. First, access the Avalanche Bridge.
2. Select the “Metamask” option and log in to your wallet.
3. Ensure that the UI says “From Ethereum”.
4. Select the token that you wish to bridge and enter the amount you would like to bridge accordingly.
5. Select “Transfer”.
Also read,
- Home
- About Us
- Write For Us / Submit Content
- Advertising And Affiliates
- Feeds And Syndication
- Contact Us
- Login
- Privacy
All Rights Reserved. Copyright , Central Coast Communications, Inc.